
Last updated November 15, 2026
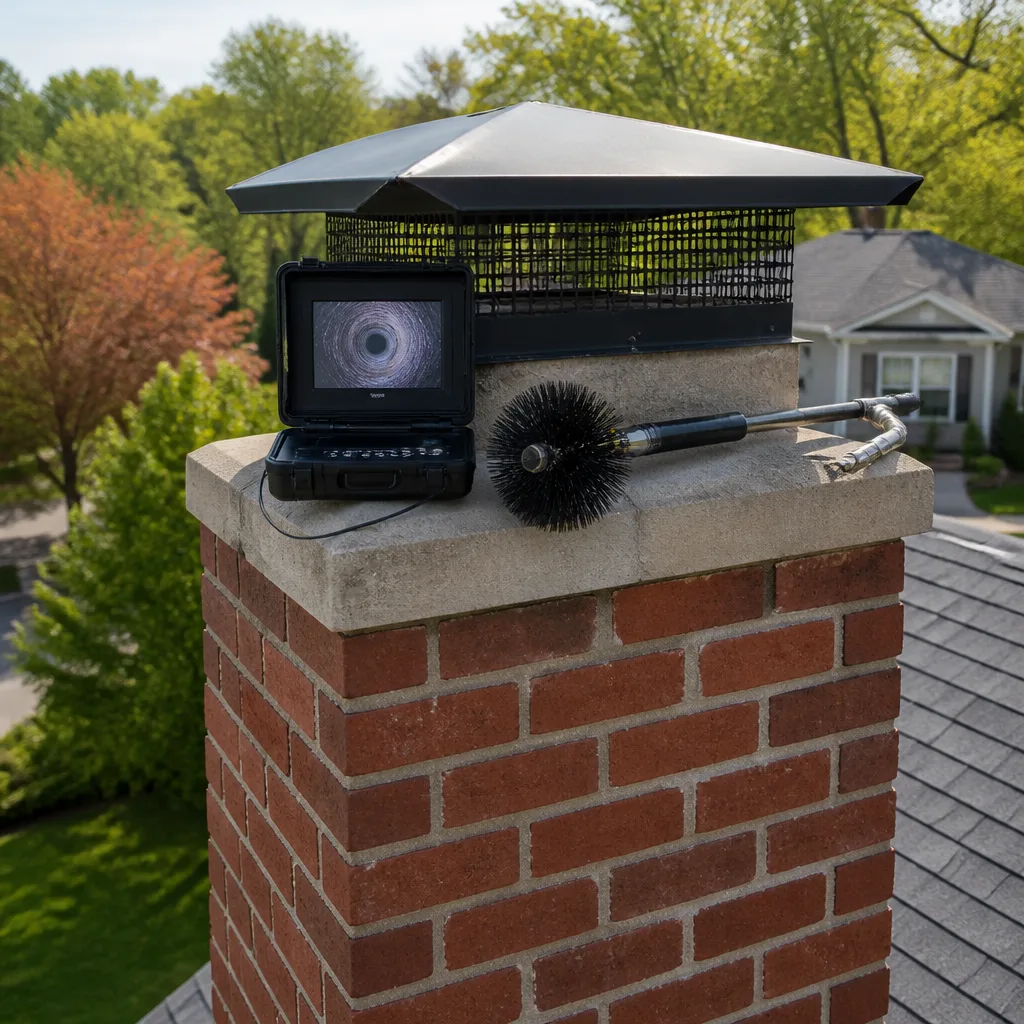 Sweep & inspection
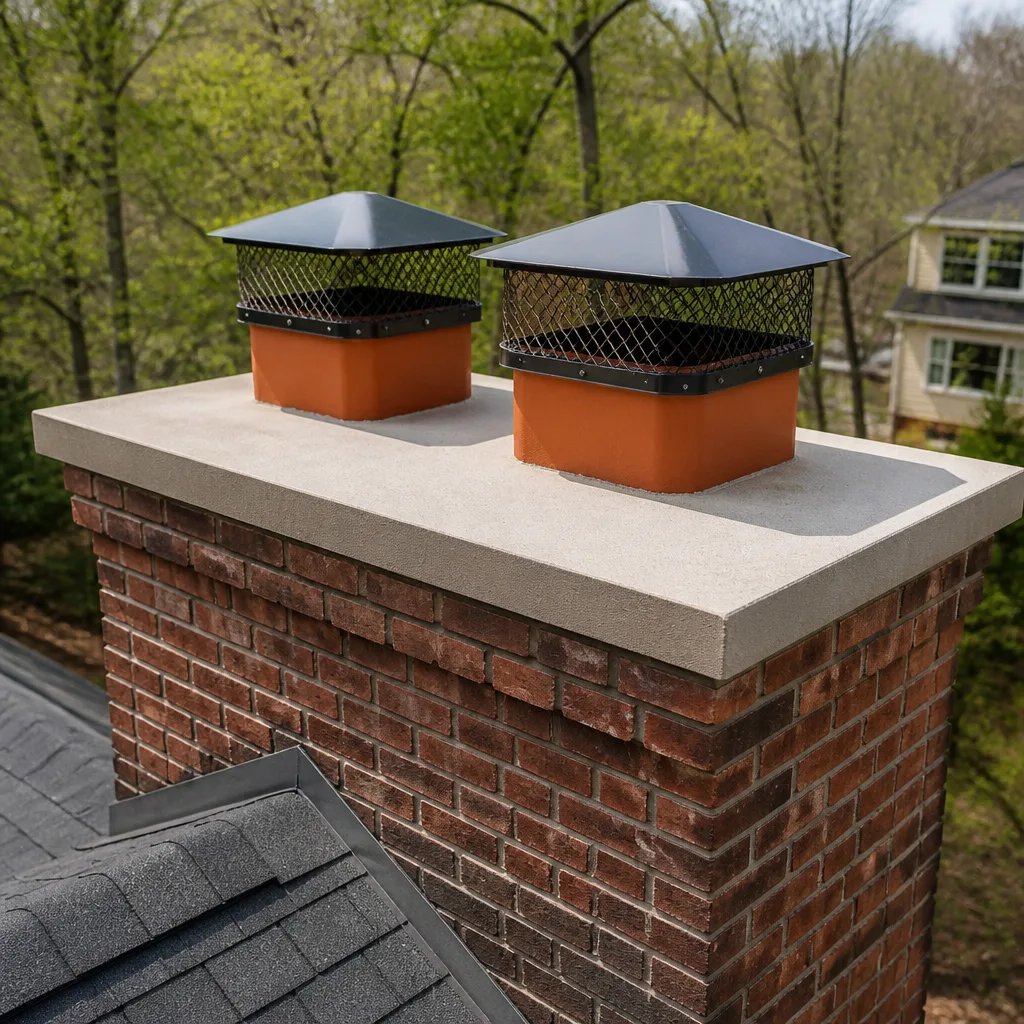 Caps & crowns
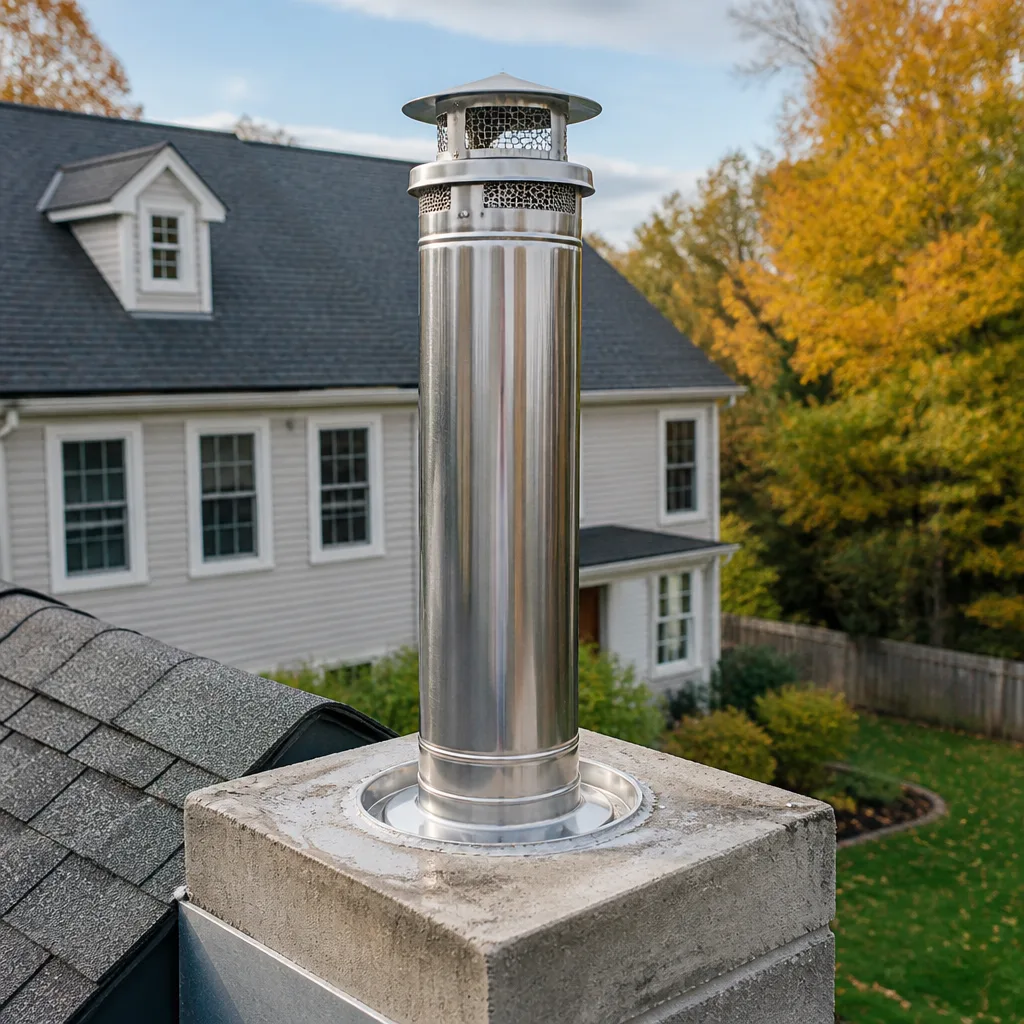 Flue relining
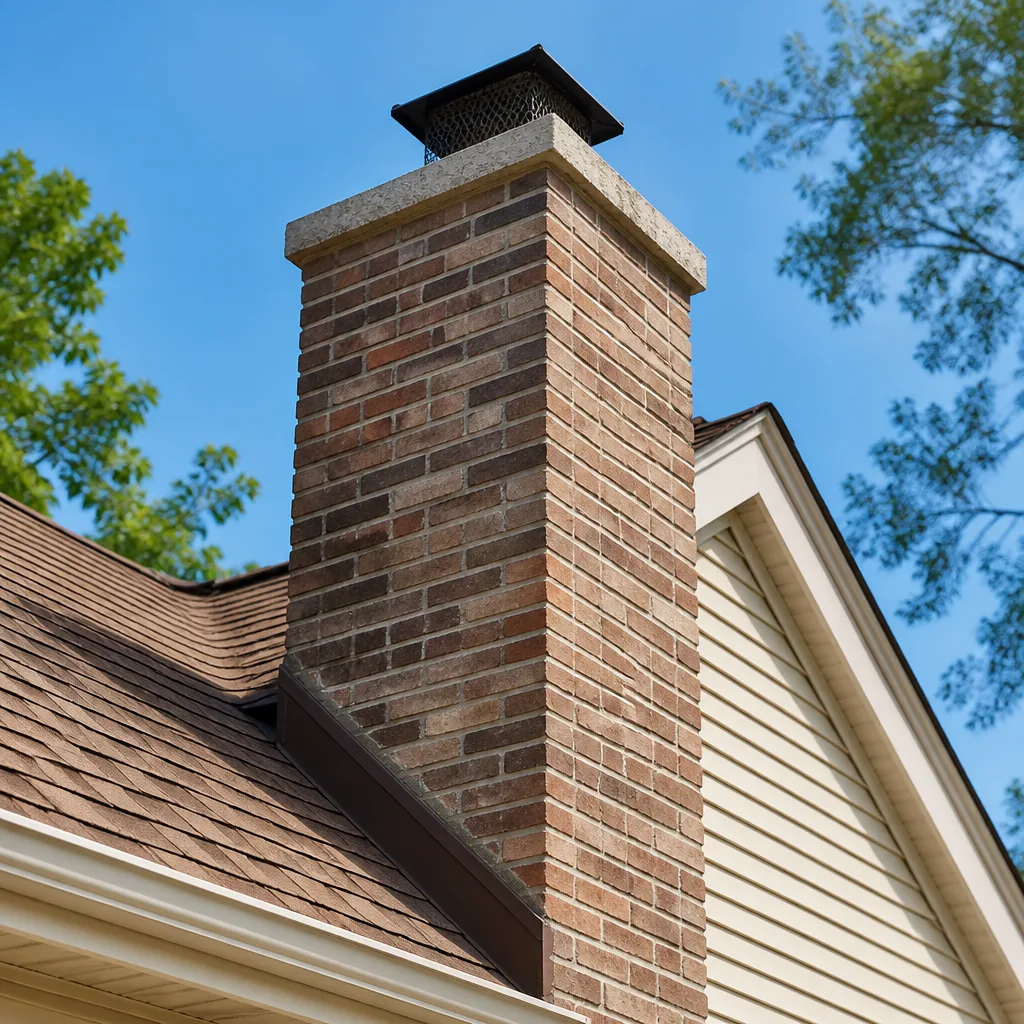 Masonry repair
 Gas fireplace service
Level 1 sweep and inspection to the NFPA 211 annual standard - flue, crown, cap, and flashing checked and photographed
Chimney sweep logs do not sweep chimneys. They loosen some creosote - which then falls where a brush and vacuum still have to collect it.
Chimney Sweep Maintenance Checklist for Milwaukee Homeowners
The damper is the most-inspected part of a chimney and also the most misread. A damper plate that swings open and closes without a hitch can still be warped or pitted enough to leave a gap at the seal, and during a pressure drop that gap is exactly where carbon monoxide migrates into living space. Free movement tells you the hinge works. It tells you nothing about the seal. That gap between “it moves” and “it’s actually holding” is what this checklist is built around. Milwaukee homes burn hard through long winters, and by the time a problem announces itself you’re usually reading it in the middle of heating season. What follows is a component-by-component pass/fail system, ordered by risk rather than convenience, so you can tell what’s cosmetic, what’s a monitor-next-year item, and what needs a technician before you light the next fire.
Quick Answer
A Milwaukee chimney maintenance checklist covers six components checked in risk order: crown, cap, liner, damper, firebox, and smoke chamber. Homeowners can safely inspect the crown, cap, and exterior masonry from ground level; the liner, damper seal, firebox interior, and smoke chamber require a professional with a camera. Run the full checklist in September, before heating season begins, and log every finding with photos and dates so your records satisfy insurance documentation. Our technicians have up to 8 years of experience reading exactly these failure patterns in Milwaukee homes.
Styles & brands we work with
- Sweep & inspection
- Caps & crowns
- Flue relining
- Masonry repair
- Gas fireplace service
Table of Contents
- Why a Risk-Ordered Checklist Beats a Seasonal Reminder
- What You Can Safely Check From Ground Level
- What Requires a Professional With a Camera
- Component-by-Component Pass/Fail Criteria
- Timing the Checklist to Milwaukee’s Heating Season
- Logging Maintenance History for Insurance
- Red-Flag Combinations That Mean Urgent Repair
- Common Mistakes to Avoid
- When to Call a Professional
Why a Risk-Ordered Checklist Beats a Seasonal Reminder
Most chimney advice you’ll find online reads like a calendar: sweep once a year, call someone if something looks wrong. That’s a reminder, not a checklist. A real checklist names each component, states the pass condition, states the fail condition, and orders the whole thing by what’s most likely to hurt you or your home first. Milwaukee’s climate makes that ordering matter. A freeze-thaw cycle that swings dozens of times between November and March punishes masonry differently than a mild climate does, and the components most exposed to that freeze-thaw are the ones that fail first.
Risk order works from the outside in. The crown sits at the top of the stack, shedding water away from everything below it. When it cracks, water gets into the masonry, freezes, expands, and starts pushing the whole structure apart. That’s a top-of-stack failure with bottom-of-stack consequences. The cap comes next, because a missing or damaged cap lets water, animals, and debris straight into the flue. The liner follows, since it’s the barrier between combustion gases and the wood framing of your house. Then the damper, firebox, and smoke chamber, which handle the fire itself and the gases above it. Sweeping the flue without checking the crown first is like mopping a floor with the roof still leaking.
In our experience, the component order also maps to the conversation a homeowner has after the inspection. Crown and cap issues get fixed fast because they’re visible and obvious. Liner issues take longer because they’re hidden, and the decision between resurfacing and full relining depends on what the camera shows. Building the checklist around risk rather than the order of a typical sweep visit keeps the priorities straight.
What You Can Safely Check From Ground Level
A meaningful portion of this checklist can be done from the ground with a pair of binoculars and no ladder at all. That matters for two reasons. First, it lets you spot changes year to year before they become interior problems. Second, it gives you something to compare against the technician’s written report, which is useful when you’re deciding whether a recommended repair is real or padded. What you should not do is climb onto the roof to get a closer look. Roof work around a chimney is a fall hazard and a way to damage flashing that wasn’t leaking before you got up there.
From ground level, point the binoculars at the top of the chimney and check these:
- The crown. Look for a visible crack, a chunk missing at an edge, or a mortar-colored patch that’s pulled away from the brick. Any of those is a fail.
- The cap. Confirm the cap is present, sits square on the flue, and has intact mesh on the sides. A cap tilted off the flue is a fail even if it’s still physically attached.
- The masonry above the roofline. Look for white chalky stains on the brick (efflorescence), flakes of brick lying on the roof, or a visible lean. Any of those is a fail that needs an inspection.
- The flashing. The metal where the chimney meets the roof should sit flat against the masonry with no visible gap or rust streaks running down the shingles. Rust streaks and gaps are both a fail.
- The cap mesh from underneath if visible. If you can see daylight through it, it’s clear. If it looks solid, something is nested or blocked, and that’s a fail.
Binocular checks are a screening step, not a clearance. Failure at ground level means call for an inspection. A clean pass at ground level does not mean the chimney is fine, since every interior component is still unverified. Write down what you see, with the date. That note becomes the first entry in the maintenance log we’ll cover below.
What Requires a Professional With a Camera
The components that can’t be checked from the ground are the ones that actually determine whether the chimney is safe to use. The liner, in particular, can look perfectly normal from the firebox and still have a joint that’s failed higher up, or a section of clay tile that’s cracked at an angle the eye can’t see. Camera inspection is how that gets caught. The camera runs the length of the flue on a flexible rod, the technician watches on a monitor, and the footage gets saved as a record of condition at that point in time.
The professional portion of the checklist covers four items, in this order:
- Liner inspection with camera. Confirms the liner is continuous, the joints haven’t shifted, and there’s no cracking or spalling of clay tiles. On a metal liner, checks for rust, seam separation, and proper termination at the top.
- Damper seal test. More than watching the damper move. The technician checks for warp or pitting at the plate edge and tests whether the plate actually seats against the frame. A damper that passes the move test and fails the seal test is a real finding.
- Firebox inspection. Brick faces, mortar joints, and the fireback. Cracks more than a hairline, or a mortar joint you can push a putty knife into, change the recommendation.
- Smoke chamber inspection. The sloped section above the damper where gases gather before entering the flue. Rough or deteriorated parging slows the draft and gives creosote a place to accumulate.
The chimney sweep visit includes a sweep of the flue so the camera actually sees clean surfaces. Camera inspection on a dirty flue shows you the creosote, not the liner. The two steps happen together, and the report afterward should be specific about what was seen, not just ticking a box.
Component-by-Component Pass/Fail Criteria
Here’s the checklist in table form, ordered by risk. Use it as a reference when you read the technician’s report, and use it to know what you’re agreeing to before you sign anything. The whole point of a pass/fail list is to give you a specific standard, so you’re not relying on a sentence like “the chimney needs attention.”
The Six Components, Ranked by Risk
- Crown – highest risk. Pass: uncracked surface, edges intact, sheds water off the sides of the stack, sealed at the brick joint. Fail: any visible crack, a chipped or missing edge, a crack at the joint where the crown meets the brick, or evidence water has already gotten behind it (efflorescence below, rust on the firebox door).
- Cap – high risk. Pass: present, sized to the flue, firmly attached, mesh intact, no rust-through. Fail: missing, loose, tilted, or backdraft-cap unit with a damaged screen. A missing cap in Milwaukee lets rain, snow, squirrels, and birds straight into the flue.
- Liner – highest risk to occupants. Pass: continuous, joint gaps within allowed tolerance, no visible cracking or spalling, correct termination at the top. Fail: any crack that runs through a tile, a displaced joint, or a metal liner with rust-through or seam separation. A failed liner is the failure that lets carbon monoxide and heat reach the house framing.
- Damper – moderate risk, high consequence. Pass: plate seats against the frame when closed, no measurable warp or edge pitting, opens to its full travel. Fail: any gap at the seal when closed, warped plate, or a top-seal damper with a failed gasket.
- Firebox – moderate risk. Pass: brick faces intact, mortar joints tight, fireback uncracked. Fail: cracks wider than a hairline, crumbling mortar, or a fireback crack that runs through the thickness of the brick.
- Smoke chamber – moderate risk. Pass: smooth parging, sloped properly toward the flue, no gaps at the damper frame. Fail: rough or missing parging, a crack that allows gases to escape the chamber, or heavy creosote accumulation that rough walls have trapped.
What Each Failure Actually Means
A crown fail usually isn’t a crown-only problem. Water that gets through a crown crack runs down inside the masonry of the stack, so by the time you see the crack you may already have spalling brick or a rusted firebox. A liner fail with any open gap is a use-stopping finding, because combustion gases take the path of least resistance and through a joint gap that path is into the house. A damper seal fail sounds small and isn’t, because a warped plate or a worn gasket lets carbon monoxide migrate into living space on a pressure drop, and the visible movement of the damper never told you that. A firebox fail deeper than a hairline means the fire has a path out of the box, and we don’t recommend lighting another fire until it’s addressed.
For a full overview of how these repairs get sequenced, the chimney repair service page walks through what’s involved in each. In Milwaukee, deferring a repair over a winter tends to make the repair bigger by spring, because freeze-thaw works on whatever weakness the water found.
Timing the Checklist to Milwaukee’s Heating Season
September is a better month for this checklist than November, and the reason is the backlog. When the first cold snap hits Milwaukee, every chimney contractor’s schedule fills, and homeowners who waited find out that the sweep they assumed was routine turns out to need a repair with a lead time attached. A September inspection leaves room to schedule work before the first fire. A November inspection doesn’t.
The second reason is diagnostic. A chimney that’s been sitting unused since spring gives you a clean baseline. You can see what the summer did to the exterior masonry, what animals did to the cap, and what the last heating season left in the flue. By November, you’ve often already had the first few fires of the season, and now you’re inspecting a system that’s been in use. Not fatal, but it obscures the findings.
Our recommended seasonal cadence for a Milwaukee home:
- Late August or early September: Full checklist. Ground-level check, professional camera inspection, sweep if needed. Repair findings get scheduled before heating season.
- Mid-season, if usage is heavy: A quick visual check of the firebox and smoke chamber. If you burn wood most nights, ask about a mid-season sweep.
- Early spring, after the last fire: Look at the crown and the masonry from the ground once the freeze-thaw cycle ends. Any new spalling, efflorescence, or chip from the crown is worth a call.
- Anytime after a major storm: Ground-level check of cap, crown, and flashing. Storm damage compounds if it’s not caught quickly.
Homes in older Milwaukee neighborhoods, especially those with the original masonry chimneys from the early twentieth century, run a tighter schedule. The masonry in those stacks has been through a century of freeze-thaw cycles and predates a lot of the moisture management in newer construction. If you’re in a neighborhood like Washington Heights or Bay View and you’ve recently bought an older house, the first checklist should include a camera inspection even if the chimney was reportedly swept by the previous owner. A sweep receipt tells you someone ran a brush. It doesn’t tell you what the liner looks like.
Logging Maintenance History for Insurance
Insurance documentation is not the same as a filing cabinet of receipts. The format that actually satisfies an adjuster after a chimney fire or a water-damage claim is a chronological log with specific components, specific findings, dates, and photos. If a claim gets questioned, “we had it swept every year” is worth less than a dated record showing the liner was inspected with a camera and passed on a specific date, and that the crown was noted as failed on a date with a photo attached. Our technicians document findings with photos from the inspection because that’s what a homeowner needs when a claim is filed, not just a one-line invoice.
What a usable log looks like:
- Date and service performed. “Camera inspection and flue sweep” is more useful than “annual service.”
- Component-by-component findings. Note pass/fail for crown, cap, liner, damper, firebox, and smoke chamber, not just the overall condition.
- Photos attached, labeled by date. A photo from the camera inspection, a ground-level photo of the crown, and a photo after any repair.
- Repair records in the same log. What was done, what material was used (the brand and system, if you know it), and the date.
- Carry it forward. Whether it’s a paper folder or a spreadsheet, keep the whole history in one place. Splitting between the insurance file and the home file costs you the connection.
If you’ve moved into a Milwaukee home with no maintenance history, start the log with the first inspection. An empty log isn’t a problem. What matters is that you have one going forward, and that it captures the state of the chimney at the point you took ownership. It’s also a useful document when you sell.
Red-Flag Combinations That Mean Urgent Repair
Some findings are meaningful in isolation and critical in pairs. A combination that shows the same failure mechanism working from two directions is worth more than the sum of its parts, and it’s the reason we order the checklist by component conditions rather than by calendar. These are the specific pairs that flip the recommendation from monitor to repair now:
- Spalling brick plus a cracked crown. This is the classic Milwaukee combination. The crown crack sent water into the masonry above the roof, the water froze and expanded, and the brick face is now spalling off. Repair the crown alone and the brick keeps spalling. Repair the brick alone and the crown keeps feeding it water. Both need to be addressed together, and the sooner the better.
- Efflorescence plus rust on the firebox door. Chalky white staining on exterior masonry means water is moving through the brick. Rust on the firebox door means water is arriving inside the firebox. Together, they say water is crossing the full thickness of the stack, which usually traces to a crown or flashing failure upstream.
- Liner crack plus a damper seal fail. Either alone needs a fix. Together, they mean both the flue and the firebox-to-house boundary have a path for combustion gases. That combination is a stop-using-fire-until-repaired finding.
- Firebox crack plus a smoke chamber crack at the damper frame. A crack below the fire and above the fire, both open. Gases can travel outside the intended path on both sides of the fire.
- Cracked or displaced tile plus a recent chimney-fire smell. A hot creosote burn can crack a tile that was previously sound. If there was a chimney fire, even a small one, the liner needs a camera inspection to confirm it survived.
These combinations are why the written report should list every finding, component by component, even where the individual finding is minor. The technician reading the full list can spot combinations that each component in isolation doesn’t reveal. In Milwaukee, the freeze-thaw cycle tends to convert any single water-entry finding into a pair within one or two winters, so an early repair on a crown crack is a cheaper repair than the one it becomes. The work itself is the kind of thing the team at Milwaukee Chimney Sweep handles from inspection through repair with the material to match the finding.
Liner Restoration vs. Full Relining: Which Applies
Not every liner fail requires a full replacement, and knowing which side of that decision a failure lands on changes what you should expect from the repair conversation. A liner with continuous cracks along the length of the flue, or one that’s fully deteriorated, needs a new liner. A liner that has localized deterioration in otherwise sound clay tile, or a flue that needs its inner surface sealed, may be a candidate for restoration. HeatShield ceramic resurfacing is the option we use for that middle case, and it can save a homeowner the cost of a full relining when the underlying tile is still structurally sound. A full relining is specified when it’s actually the right repair, using a flexible liner system from DuraFlex or Olympia Chimney sized to the flue and the appliance, terminated properly at the top with a cap from the Famco or Copperfield line. What we won’t do is quote a full relining on a flue that a ceramic resurfacing would protect just as well, and we won’t call a flue restorable if the camera shows it isn’t. The report shows you the footage either way.
Common Mistakes to Avoid
- Treating “the damper moves” as “the damper works.” Movement passes a hinge test and fails the seal test. Warping and pitting at the plate edge don’t change how the lever feels from the fireplace opening.
- Climbing onto the roof for a closer look. Roof falls are the exact hazard that makes trained roof work worth paying for, and the flashing around a chimney is easy to disturb. Ground-level binoculars and a camera inspection cover the same information without the risk.
- Skipping the crown because the chimney “looks fine” from the yard. Crown cracks are often hairline from ground level and obvious from the technician’s view at the top. Efflorescence and rust are the giveaways that a crown crack is already doing damage.
- Sweeping without inspecting. A brush tells you the flue is clean. It doesn’t tell you whether the liner is intact, whether the damper seals, or whether the firebox has a crack the soot was hiding.
- Booking in November and expecting a September outcome. By the time the first cold snap hits, Milwaukee schedules fill. Any repair found in November will need a spot on the calendar before it can be done.
- Not logging the findings. A sweep receipt doesn’t tell an insurer what condition the liner was in or when the crown was noted as cracked. The camera footage and the dated photo are the documentation that matters.
- Assuming a previous owner’s sweep receipt is a clean bill. A sweep receipt tells you someone ran a brush. It doesn’t tell you what the liner looks like or whether the crown was ever checked. For older homes, the first walk-through should be a full checklist.
When to Call a Professional
Call for a professional inspection if you see any of the ground-level failures on this checklist: a cracked or chipped crown, a loose or missing cap, spalling brick, efflorescence, or flashing that’s pulled away from the masonry. Call if you’ve had a chimney fire, even a small one, or if you’ve smelled a hot, bitter odor near the chimney after a fire. Call if your smoke alarm or carbon monoxide alarm has gone off with the fireplace in use. Call before lighting a fire in a chimney you haven’t used since last spring, especially if the home is new to you and the maintenance history is thin.
Milwaukee Chimney Sweep operates across Milwaukee, so call (855) 935-4194 for a free estimate if our checklist has surfaced something. Sweep, inspection, and repair are handled by the same team, which means a finding in the inspection doesn’t turn into a separate call to a different contractor. We answer 24/7. Fast dispatch from 7am to 7pm, Sunday through Friday. The estimate is free, and the written report comes with the inspection findings and the camera footage so you can see what we’re recommending repairs against.
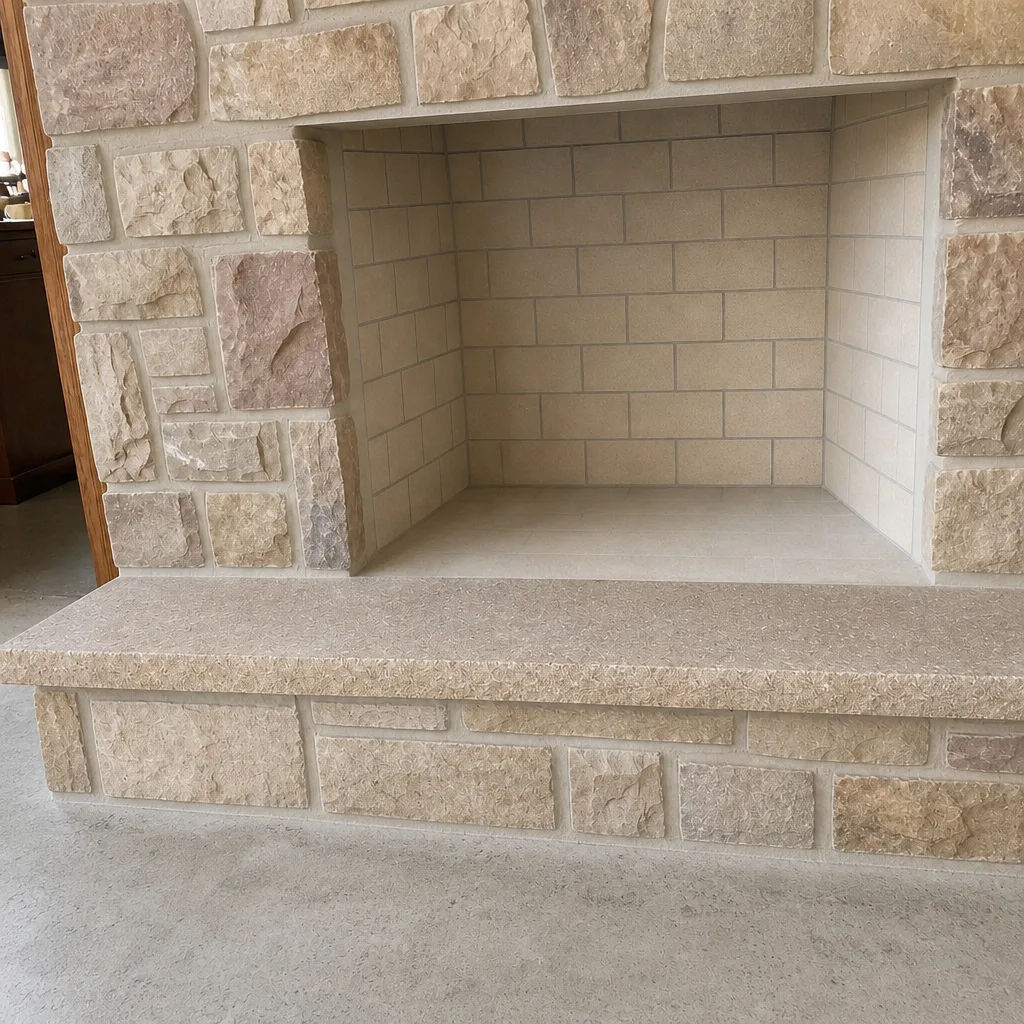
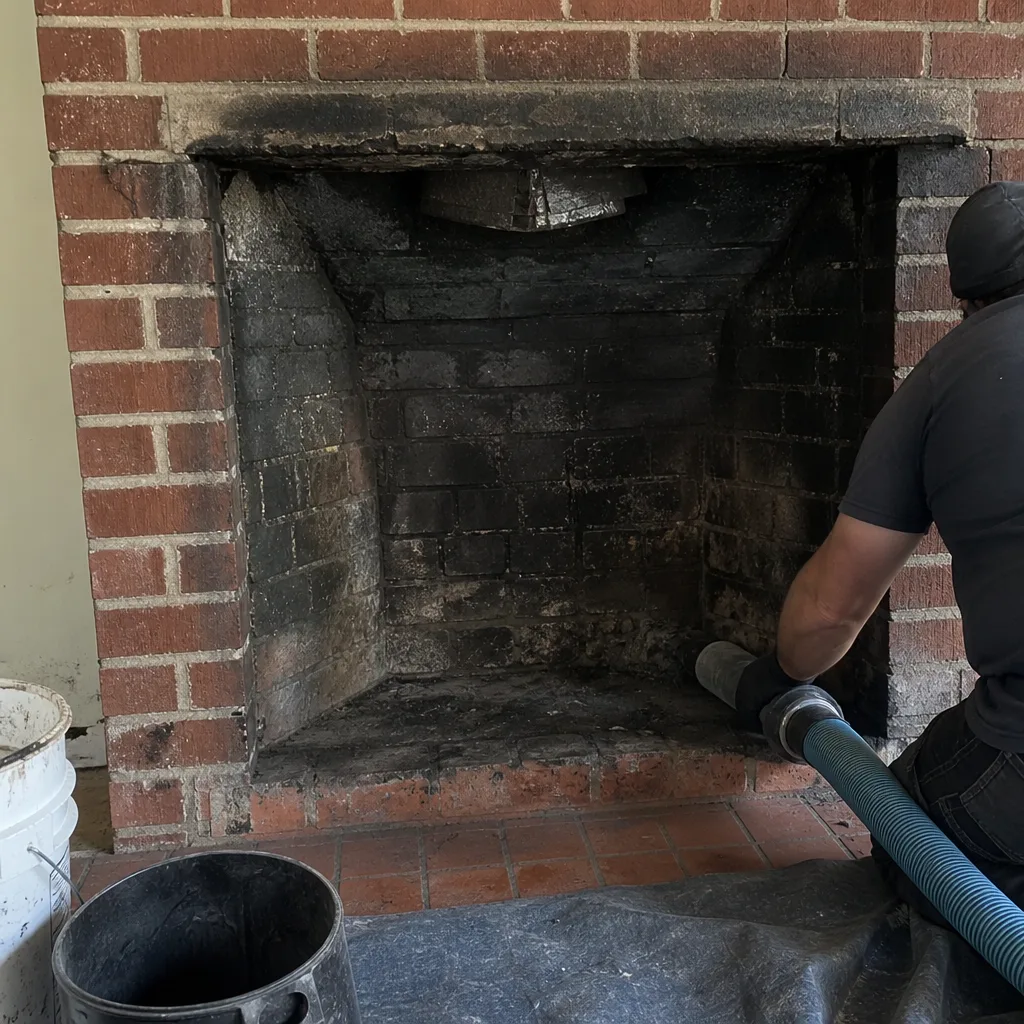
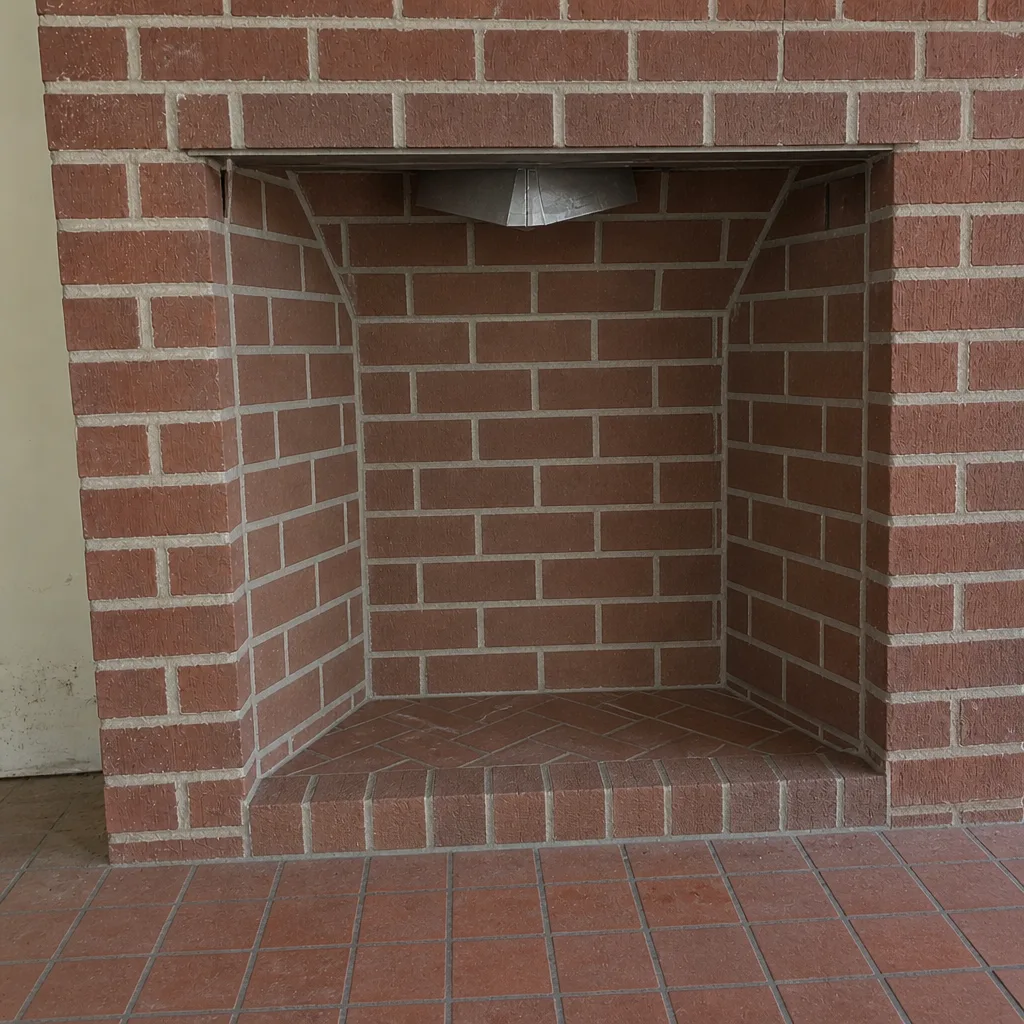
See the difference
 Before
 After
 Before
 After
 Before
 After
Frequently Asked Questions
A complete checklist covers six components in risk order: crown, cap, liner, damper, firebox, and smoke chamber. Each one gets a pass/fail test, and the checklist puts the highest-consequence failures first so a leak at the top of the stack gets caught before the liner is even examined. The crown, cap, and exterior masonry can be checked from ground level; the liner, damper seal, firebox, and smoke chamber require a technician with a camera. Call (855) 935-4194 for a full checklist inspection – the estimate is free.
September is the best month, because it leaves the schedule open for any repair the inspection finds before heating season starts. Run the full checklist in late August or early September, do a quick visual firebox check mid-season if you burn heavily, and re-check the crown and masonry from the ground in early spring after the last fire. Waiting until November means competing with every homeowner in Milwaukee who waited for the first cold snap. Call (855) 935-4194 to book before the rush.
You can safely check the crown, cap, exterior masonry, and flashing from ground level with binoculars, and you should. You should not climb onto the roof to check the liner, firebox, or smoke chamber, because those components require a camera and a trained read of what the camera shows. A warped damper plate or a hairline liner crack doesn’t look like anything from the fireplace opening. Call (855) 935-4194 for a camera inspection – the estimate is free.
Most wood-burning chimneys benefit from a sweep and inspection once per year, and heavier wood use may push that to a mid-season sweep as well. A camera inspection belongs in every annual pass because the liner and damper seal can’t be verified any other way. On an older masonry chimney in a Milwaukee neighborhood where freeze-thaw is punishing, the annual inspection is worth more, not less, because a small crown crack can turn into a repointing job in two seasons. Call (855) 935-4194 to schedule.
A useful report lists findings for each of the six components, states pass or fail for each one, and includes dated photos or camera footage. It names the repair recommendation in terms of the finding, not a vague “chimney needs attention.” The report is also the log entry your insurer needs, so a report without component-level detail is worth saving only as a receipt for the sweep. Ask for the footage with the report, and read both against this checklist. Call (855) 935-4194 for an inspection with footage included.
That combination means water is crossing the full thickness of the masonry, and it usually means both need to be repaired together, not one or the other. Repair the crown alone and the spalling continues. Repair the brick alone and the crown keeps feeding water into the repaired section. The pair is the classic Milwaukee freeze-thaw combination, and it usually traces to a crown crack that went unnoticed for a season or two. Call (855) 935-4194 to get both findings looked at in one visit.
The Bottom Line
A chimney maintenance checklist that works is a pass/fail system, not a seasonal reminder. Read the six components in order, from the crown at the top of the stack down to the smoke chamber above the fire, because the failures that matter most start at the top and travel down. Check the crown, cap, and exterior masonry from ground level with binoculars. Hand the liner, damper seal, firebox, and smoke chamber to a technician with a camera. Book in September, before heating season fills the calendar, and log every finding with dated photos. Watch for the combinations, spalling with a cracked crown chief among them, because two findings pointing at the same failure mechanism mean repair now, not monitor. Use the report against this checklist and you’ll know what you’re reading when the recommendation comes. Call (855) 935-4194 for a free estimate and we’ll show you what the camera finds, repair what needs repairing with the right material for the job, and tell you plainly when work can wait. We answer 24/7. Fast dispatch from 7am to 7pm, Sunday through Friday. Our technicians have up to 8 years of experience reading Milwaukee chimney systems.
Written by the team at Milwaukee Chimney Sweep.